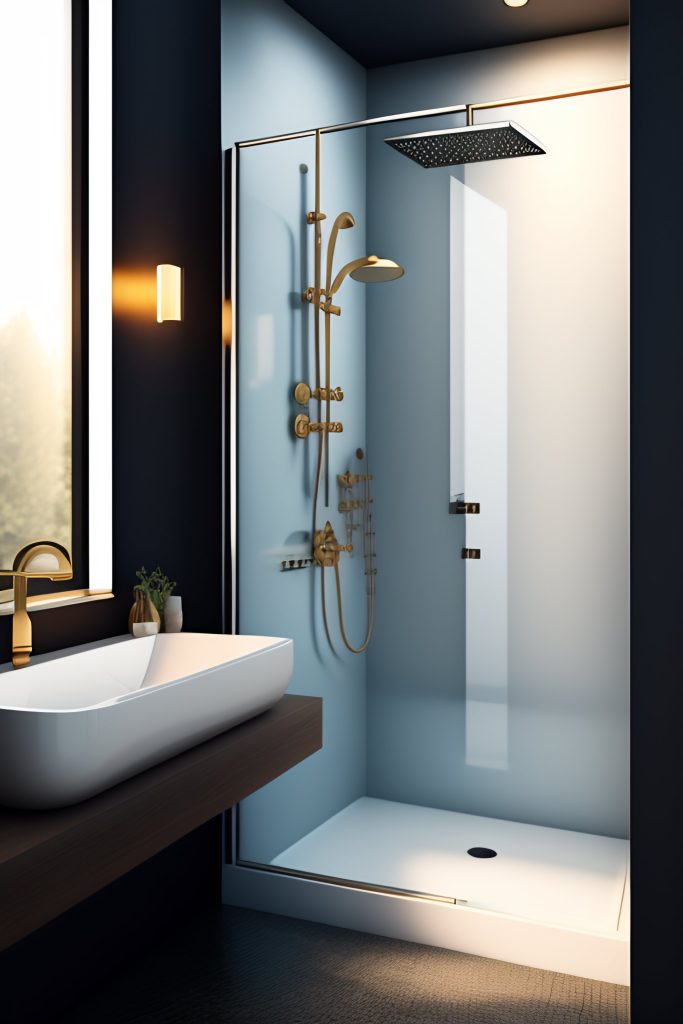
Changing Tub to Walk-in Shower: A Comprehensive Guide
Introduction
Transforming your bathroom by changing your tub to a walk-in shower is an excellent way to increase accessibility, safety, and style in your home. In this detailed guide, we will cover the essential aspects of converting your bathtub to a modern, functional walk-in shower, including the benefits, costs, design options, and a step-by-step process.

Benefits of Converting Your Tub to a Walk-in Shower
Accessibility and safety: Walk-in showers provide easy access for people with mobility issues and reduce the risk of slips and falls.
Space utilization: A walk-in shower typically takes up less space than a traditional bathtub, making your bathroom feel more spacious and less cluttered.
Modern design: Walk-in showers offer a sleek, contemporary look that can elevate the aesthetic appeal of your bathroom.
Easier cleaning and maintenance: With fewer crevices and corners, walk-in showers are generally easier to clean and maintain than bathtubs.
Costs Associated with Tub-to-Shower Conversion
The cost of converting a tub to a walk-in shower can vary depending on factors such as materials, labor, and the extent of the renovation. On average, you can expect to spend between $3,000 and $8,000 for a basic conversion. High-end customizations can raise the price to $10,000 or more.
Design Options for Your Walk-in Shower
There are numerous design options to consider when converting your tub to a walk-in shower. Here are a few popular choices:
Shower enclosure styles: Choose from frameless, semi-frameless, or framed shower enclosures to suit your design preference.
Shower doors: Select from sliding, hinged, or pivot shower doors to complement your bathroom layout and style.
Showerheads and fixtures: Explore various showerhead styles, including rainfall, handheld, and wall-mounted options. Don’t forget to consider finishes like chrome, brushed nickel, or matte black to match your bathroom’s décor.
Wall and floor materials: Opt for materials like ceramic or porcelain tiles, natural stone, or acrylic panels for a durable and stylish shower.
Shower seat: Add a built-in or fold-down shower seat for added comfort and safety.
Storage solutions: Incorporate recessed niches, shelves, or hanging caddies to keep your shower essentials organized.
Step-by-Step Process of Converting a Tub to a Walk-in Shower
Assess your bathroom’s layout: Determine the available space for your walk-in shower and consider any plumbing or electrical modifications needed.
Select your design: Choose your preferred shower enclosure style, door type, showerhead, fixtures, wall and floor materials, and any additional features.
Obtain necessary permits: Check with your local building department to ensure you have the required permits for your renovation.
Hire a professional contractor: Find a reputable contractor experienced in bathroom renovations to ensure a seamless and successful conversion.
Remove the existing bathtub: Carefully remove the tub and any surrounding materials, taking care to minimize damage to the surrounding walls and floor.
Prepare the area: Make any necessary plumbing or electrical modifications, and ensure the floor and walls are level and ready for the new shower installation.
Install the shower base or pan: Position the shower base or pan according to the manufacturer’s instructions, ensuring proper slope and drainage.
Install the wall materials: Apply your chosen wall materials, such as tiles or panels, to create a watertight seal.
Install the shower door and enclosure: Following the manufacturer’s guidelines, install the shower door and enclosure, ensuring a secure and watertight fit.
Install shower fixtures and accessories: Attach the showerhead, faucet, and any additional fixtures, such as a shower seat or storage solutions, according to the manufacturer’s instructions.

Apply the finishing touches: Seal the joints and edges with silicone caulk and grout the tiles, if applicable. Install any additional bathroom accessories, such as towel bars, hooks, or shelves.
Clean up: Remove any debris, dust, and leftover materials from the work area, and thoroughly clean the new walk-in shower and surrounding bathroom space.
Tips for a Successful Tub-to-Walk-in Shower Conversion
Hire a professional: Although DIY enthusiasts may be tempted to tackle this project, hiring an experienced contractor is highly recommended to ensure a seamless and successful conversion.
Plan for adequate ventilation: Proper ventilation is crucial in preventing mold and mildew growth. Make sure to install an appropriate exhaust fan or upgrade your existing one if needed.
Consider future accessibility needs: If you’re planning to age in place or accommodate someone with mobility issues, factor in features like grab bars, non-slip flooring, and a barrier-free shower entrance.
Opt for quality materials: Investing in high-quality materials will not only improve the appearance of your walk-in shower but also enhance its durability and longevity.
Allow for sufficient drying time: Follow the manufacturer’s recommendations for drying times for grout, caulk, and any adhesives used during the installation process. This will help ensure a watertight and long-lasting shower.
Conclusion
Converting a tub to a walk-in shower is a practical and stylish way to improve your bathroom’s functionality and design. By considering the benefits, costs, design options, and following a step-by-step process, you can successfully transform your bathroom space and enjoy the convenience and luxury of a walk-in shower. Remember to plan carefully, hire a professional contractor, and invest in quality materials to ensure a seamless and long-lasting conversion.

